Crafting Your Data Flow: A Practical Guide to NiFi Configuration
Introduction
Apache NiFi, a powerhouse for data integration, provides a user-friendly platform to design and execute data flows effortlessly. In this step-by-step guide, we’ll navigate through the process of setting up a simple data flow using NiFi. Let’s dive in and witness the magic of NiFi in action.
Step 1: Installation and Launch
Begin your data journey with NiFi by installing it on your machine. Visit the official NiFi website, download the latest version, and follow the installation instructions. Launch the NiFi server and access the NiFi web interface at http://localhost:8080 using your web browser.

Step 2: The Canvas and Processor Group
Once inside the NiFi interface, you’ll encounter the canvas — the virtual space where your data flow unfolds. Kickstart your data flow by creating a Processor Group. Drag the ‘Processor Group’ icon onto the canvas and assign it a name like “MyFirstDataFlow.”
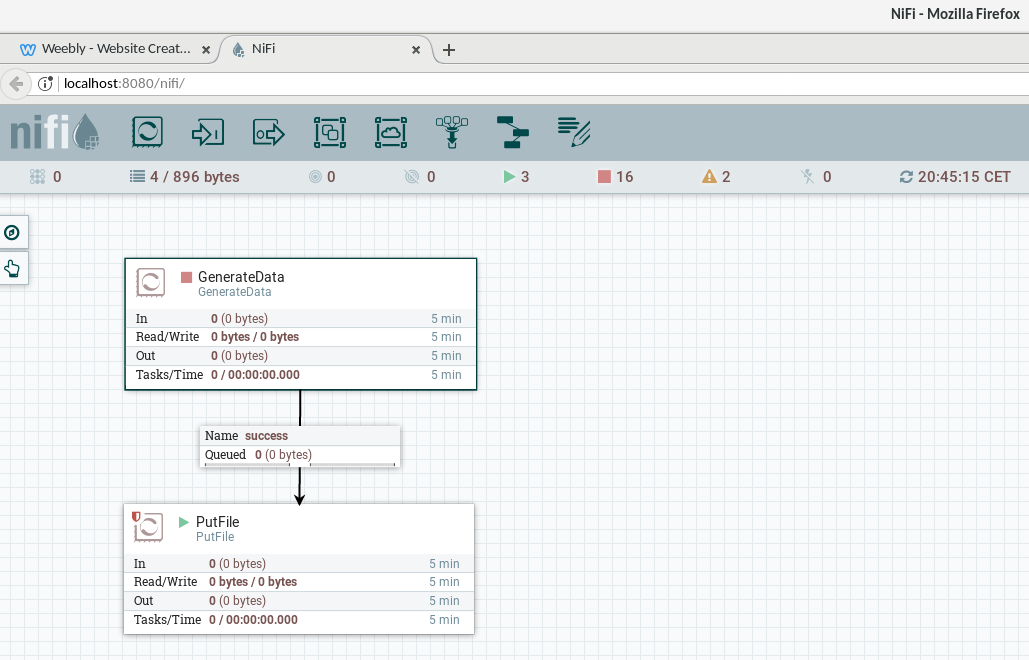
Step 3: Adding Processors
Now, it’s time to introduce the actors in your data play — the processors. Drag processors, such as ‘GetFile’ for data ingestion, onto the canvas from the left panel. Configure the ‘GetFile’ processor by setting the input directory where your data resides.

Step 4: Configuring Processors
Fine-tune your processors by clicking on them and entering the configuration settings. For the ‘GetFile’ processor, specify the input directory, file filter, and other relevant properties. This step tailors the behavior of your processors to align with your specific data source and processing requirements.
Step 5: Connecting Processors
In the choreography of data flow, connections are the dance steps. Connect processors by dragging the arrow icon from the output of one processor to the input of another. These connections dictate the movement of data within your flow. Configure relationships to determine the flow based on specific conditions.
Step 6: Starting Your Data Flow
The curtains rise, and it’s time for your data flow to take center stage. Click the ‘Start’ button in the toolbar to set your data flow in motion. NiFi will commence executing your flow, and you can monitor the progress in real-time. Head to the ‘Operate’ tab to view processor status and the overall flow.
Step 7: Tuning and Optimization
Just like tuning instruments before a performance, NiFi allows you to fine-tune your data flow. Explore the ‘Settings’ tab to adjust configurations such as thread counts and buffer sizes. Regularly monitor the ‘Queue’ and ‘Provenance’ tabs to identify and address any performance bottlenecks.
Step 8: Saving and Version Control
Preserve your data play by clicking on the ‘Operate’ tab and using the ‘Save Flow’ option. NiFi supports version control — export your flow as a template or share it with collaborators using the ‘Download’ option.
Example: Ingesting Log Files
Let’s say you want to create a data flow to ingest log files from a directory. Use the ‘GetFile’ processor to specify the directory path and configure it to fetch log files. Connect it to a processor like ‘LogAttribute’ to enrich the data with attributes. Finally, route the data to another processor or destination based on conditions.
Conclusion
Congratulations! You’ve successfully crafted your first data flow with Apache NiFi. This is just the beginning of the endless possibilities NiFi offers for data integration. As you explore further, leverage NiFi’s community and documentation for ongoing learning and optimization. May your data flow be seamless and impactful!
